Toy eyes can come in many different shapes and sizes. My favourite (probably due to their cute appearance and 3D structure) are so called “googly eyes“.
Below you can follow a detailed photo-tutorial on how to make a pair of googly eyes for your toy. As an example I used eyes for the Drop-Ear Dog:
You can download a full tutorial in the PDF version:
MyScrappyIdeas_Tutorial_GOOGLY_EYES
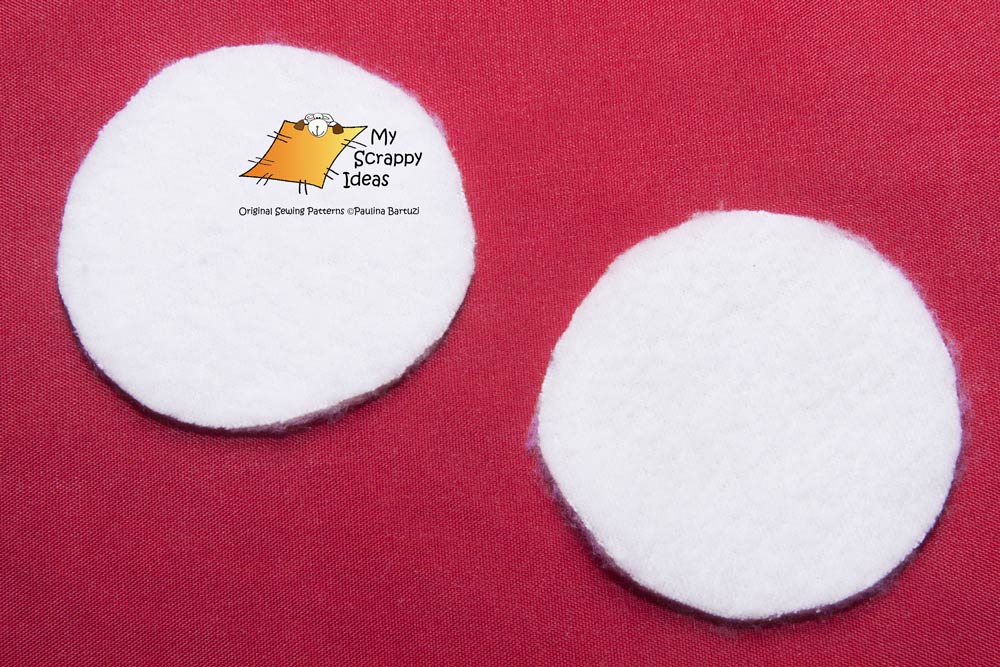
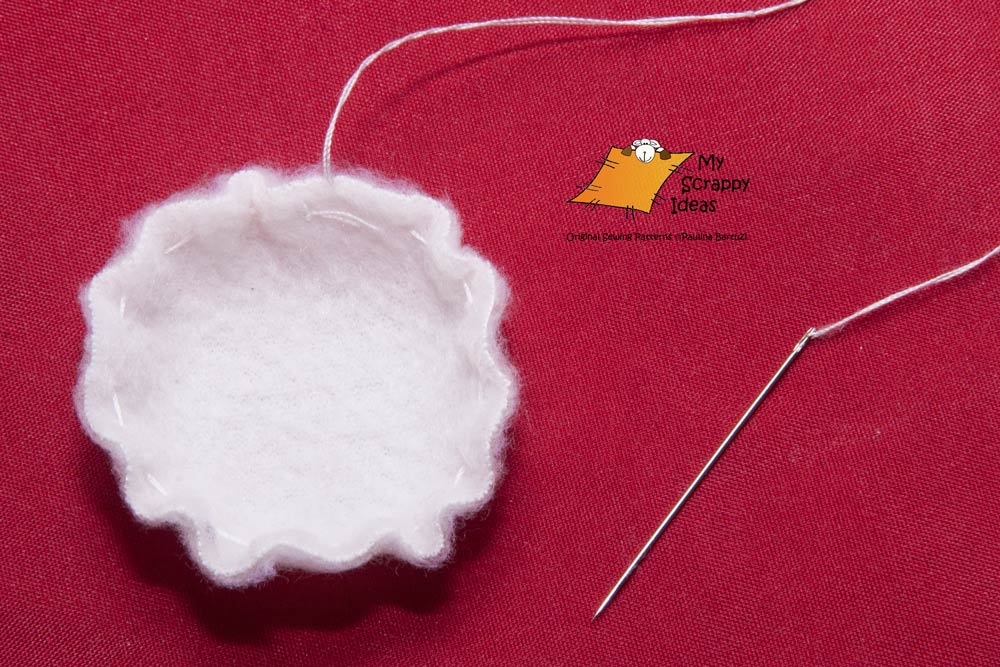
Step 1. Cut two white fleece circles for your toy’s eyeballs. Fleece is a fabric of choice for making this type of eyes, because it stretches soooo nicely and you can easily avoid wrinkling! However, if this is your preference, any type of other stretchy fabric will do!
Step 2. Use a gathering stitch to sew around the eyeball.
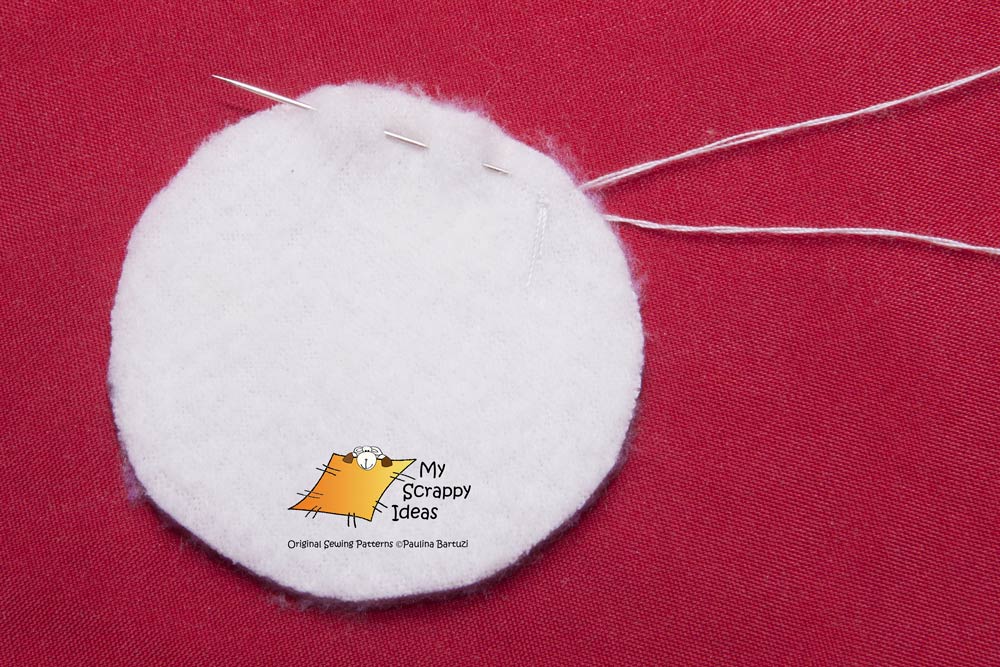
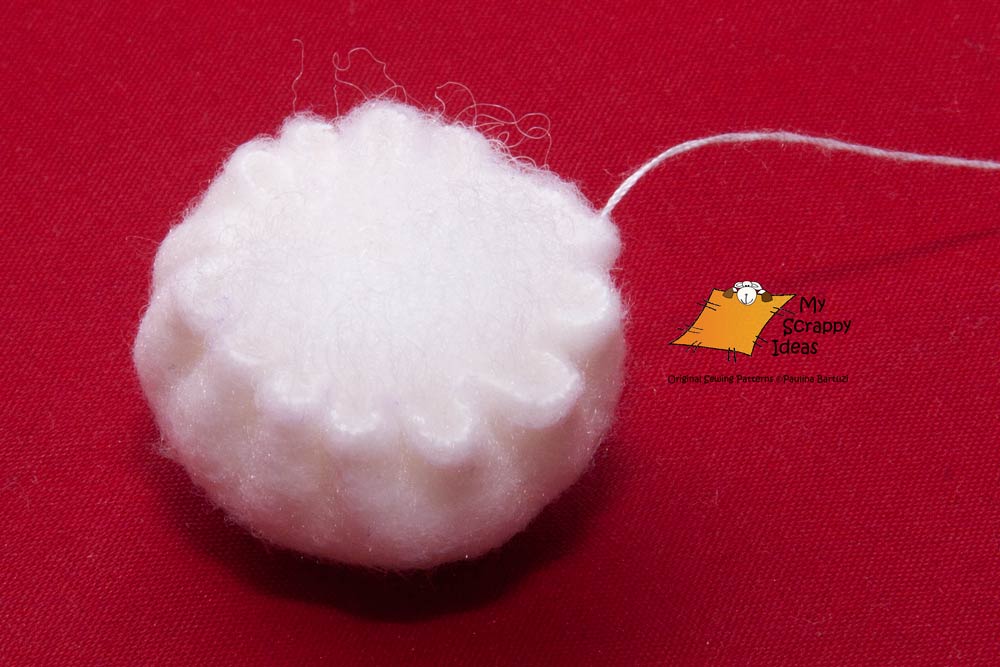
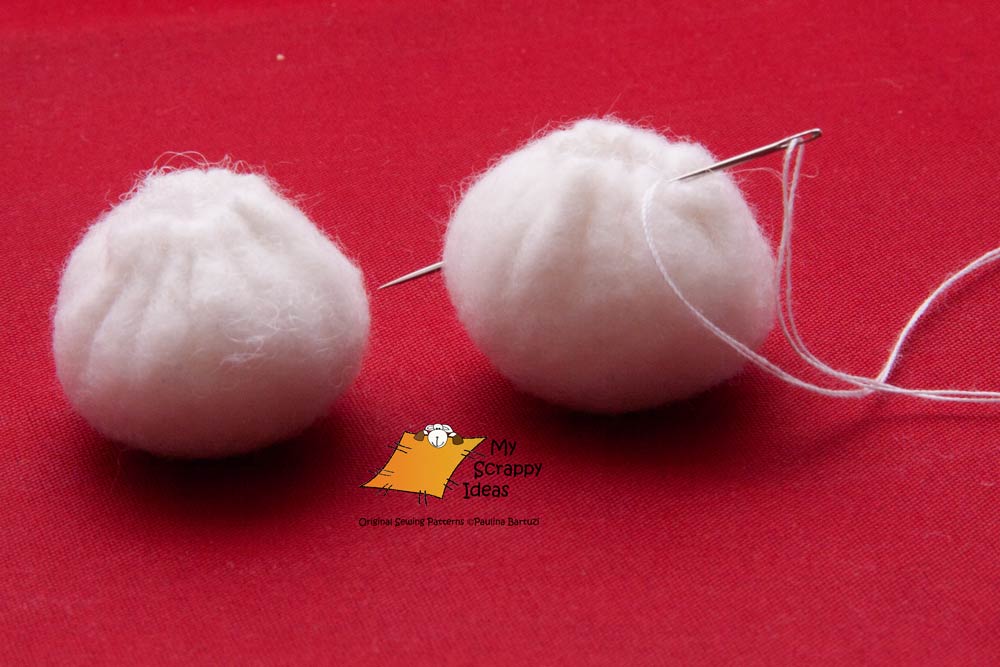
Step 3. Once you’ve worked the whole circumference, start pulling the thread to make a 3D-ball shape. You should keep the knot inside the eyeball.
Step 4. As you pull edges closer, stuff the eyeball with some toy stuffing. I help myself holding the stuffing inside the eyeball with my thumb, while pulling the thread around it. At some point you can let go of your thumb and tie a knot to secure the thread. However, DO NOT snip it yet!
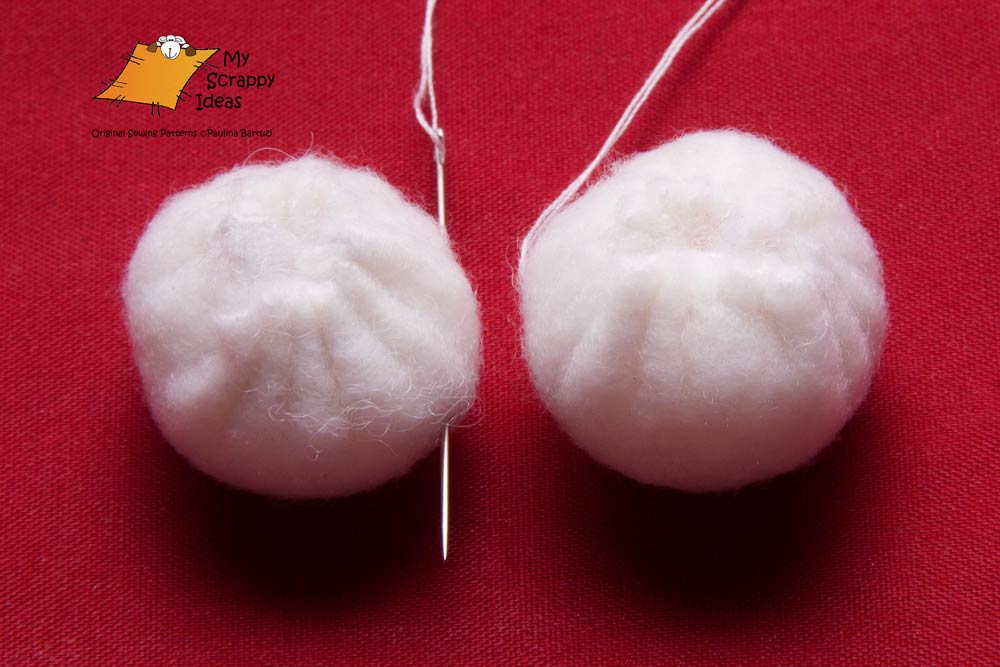
Step 5. Now you have one eyeball ready. Sink the knot by bringing the needle out of the eyeball on its side. Snip the thread.
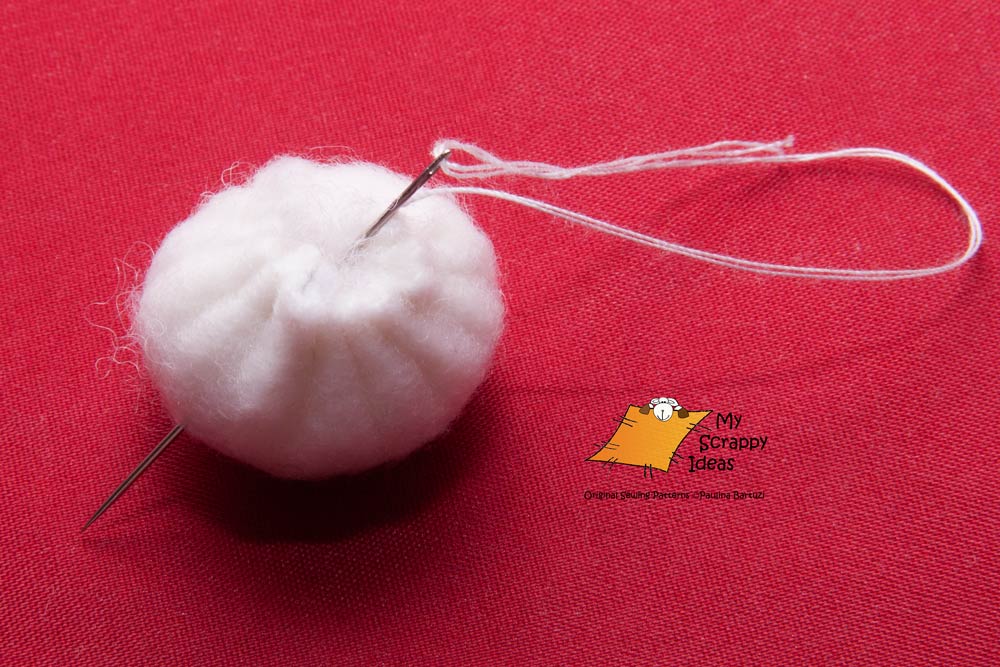
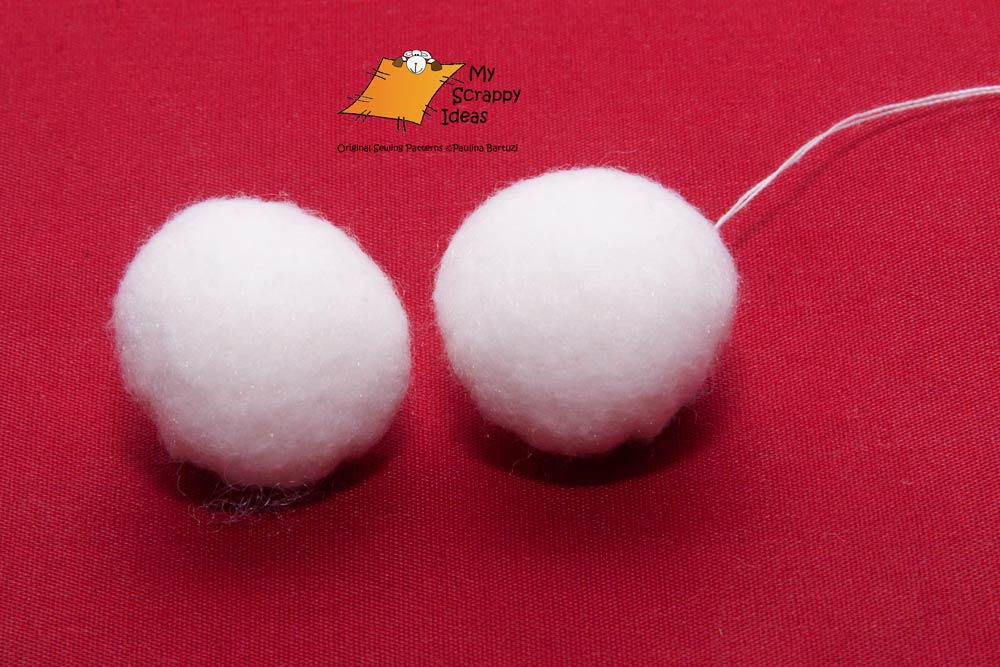
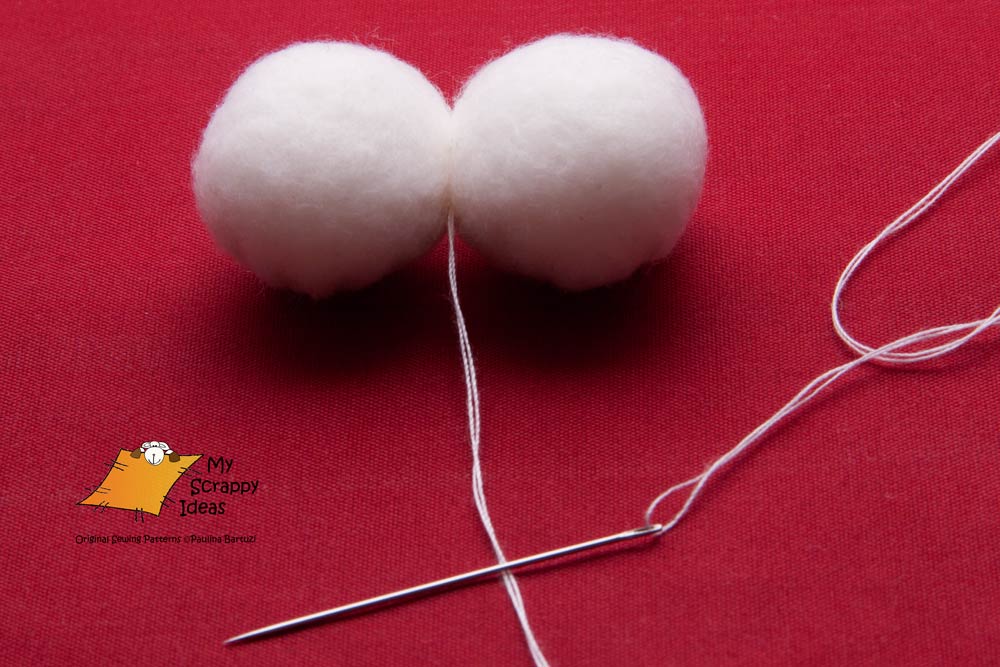
Step 6. Repeat Steps 2-4 to make a second eyeball. Again, DO NOT snip the thread yet; you can use it to sew two eyeballs together.
Step 7. Start by putting both eyeballs close to each other in order to visualise the spot where they should be attached. Bring the needle out of one eyeball approximately at that spot.
Step 8. Pull the thread through the second eyeball.
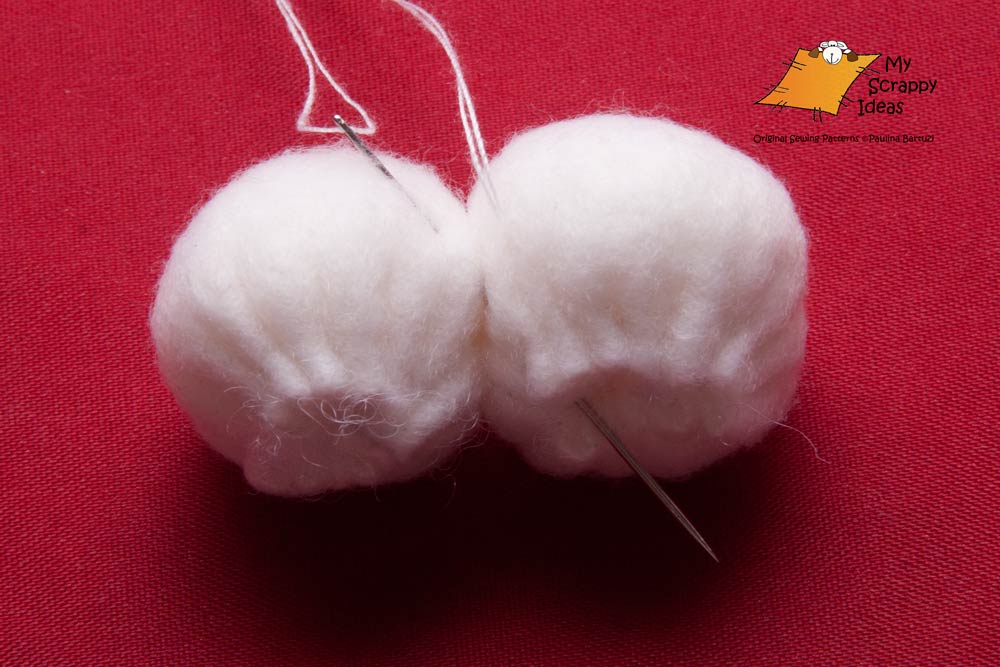
Step 9. Come back to the first eyeball and bring the needle out in the spot where you started sewing (in Step 7).
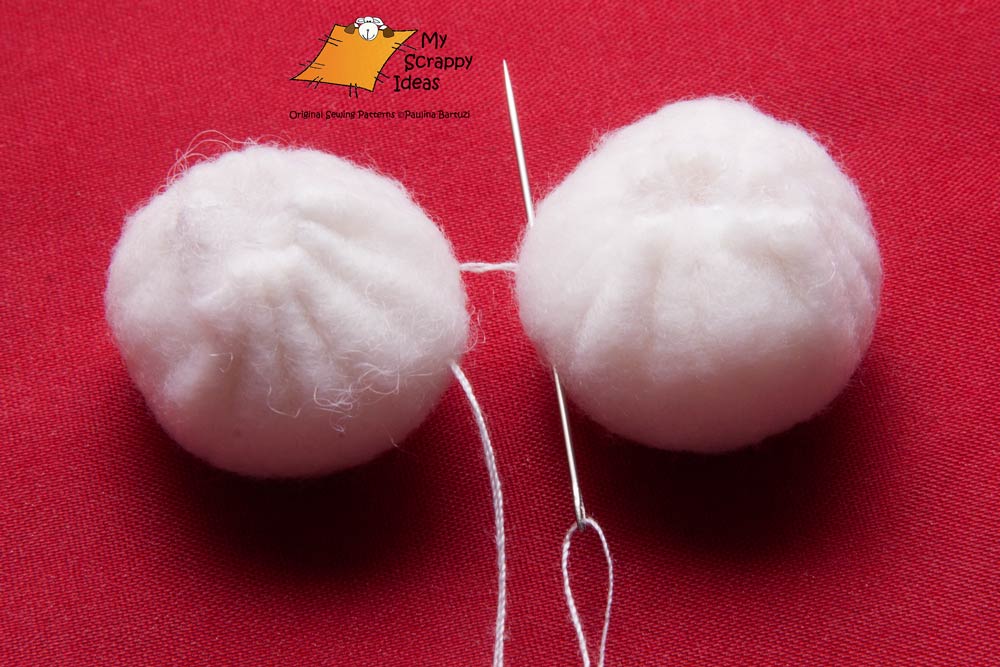
Step 10. You should end up with a kind of a square shape made by the thread. Pull it tight.
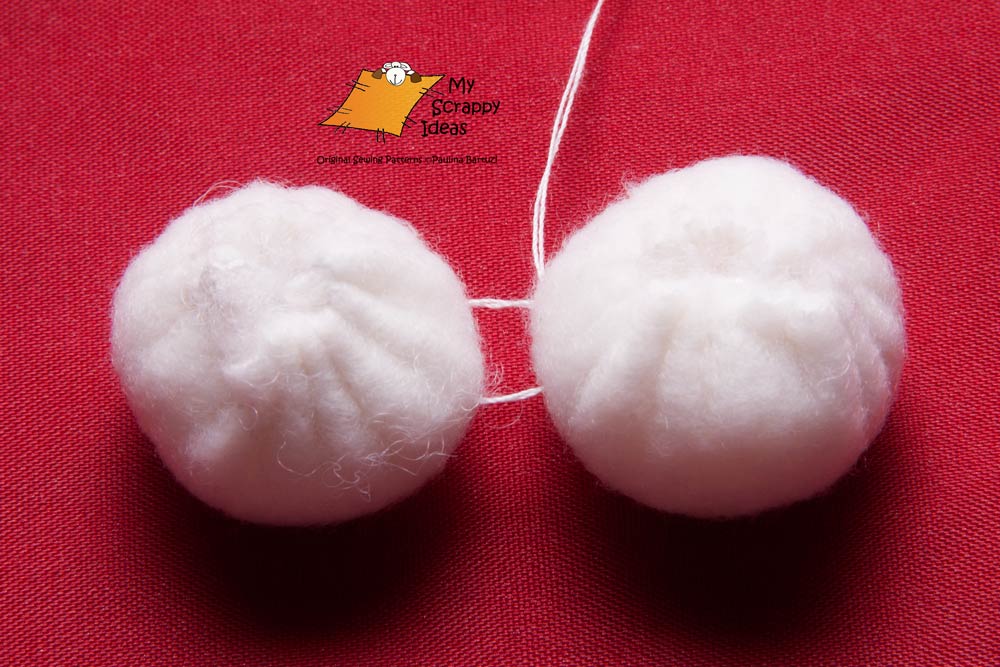
Step 11. Tie a knot at the end of the thread and your eyeballs are ready.

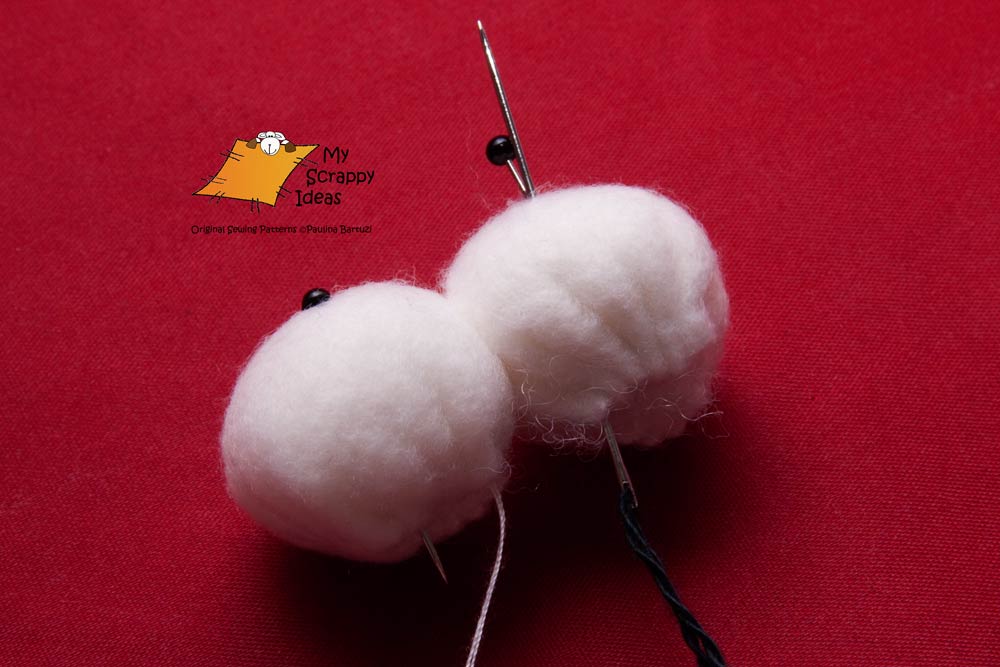
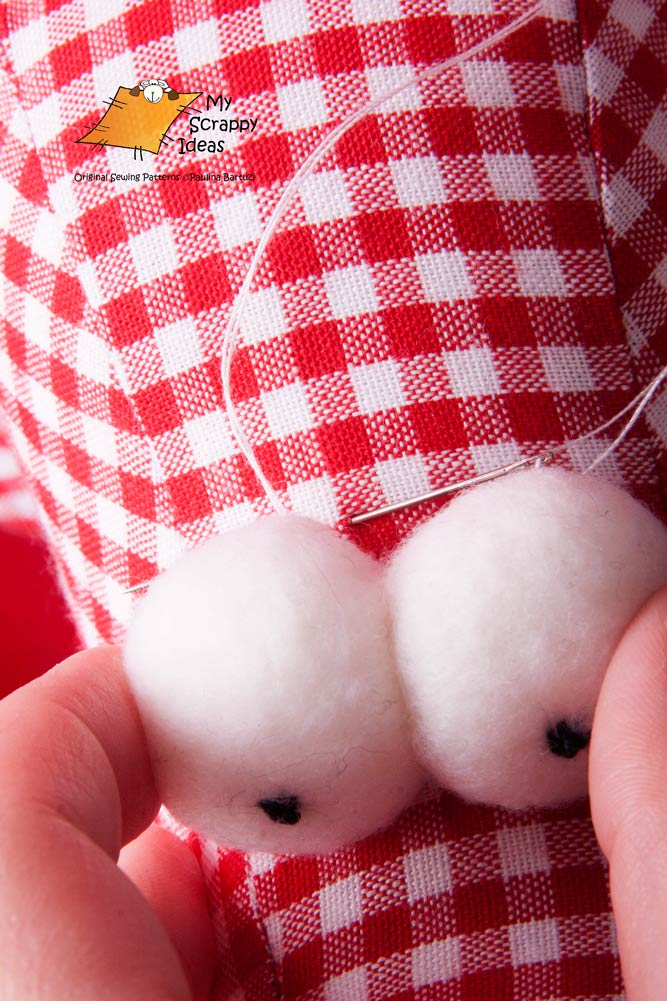
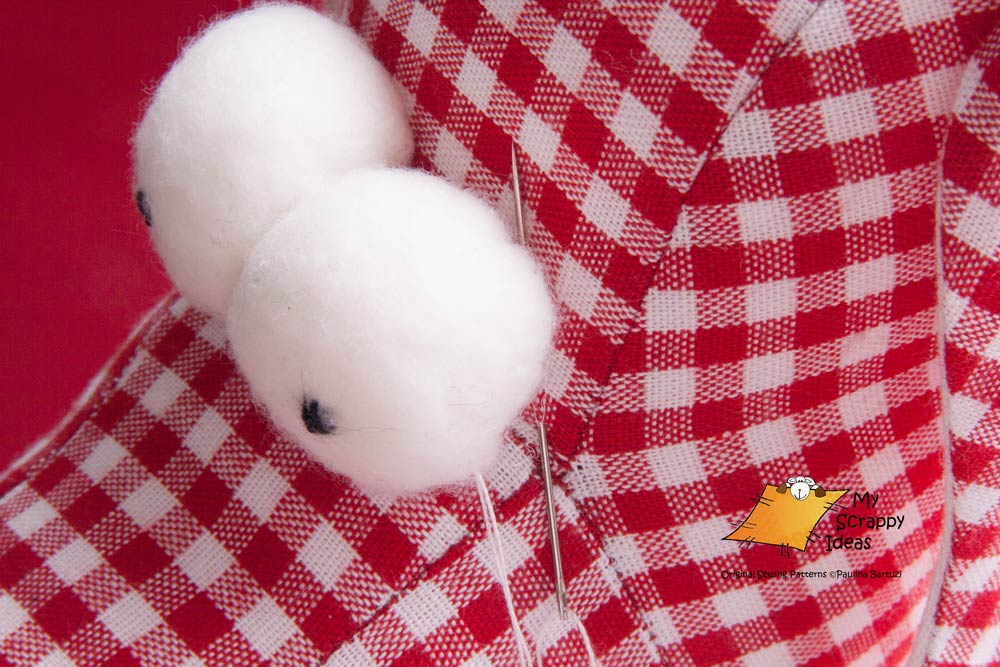
Step 12. However, for extra security you can repeat Steps 8-10 once more and come out with the thread at the base of one eyeball.
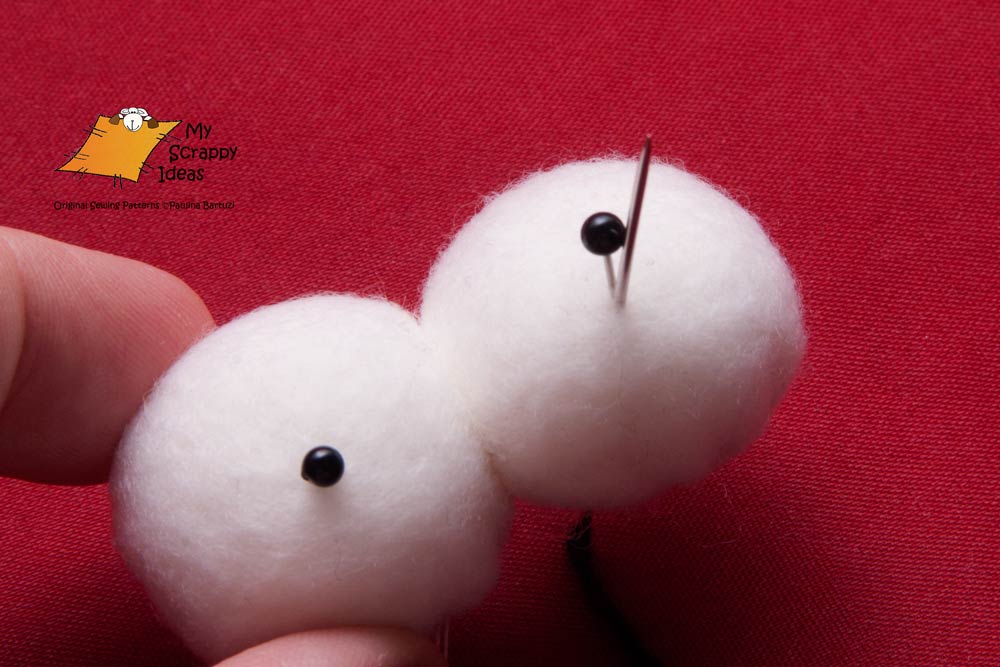
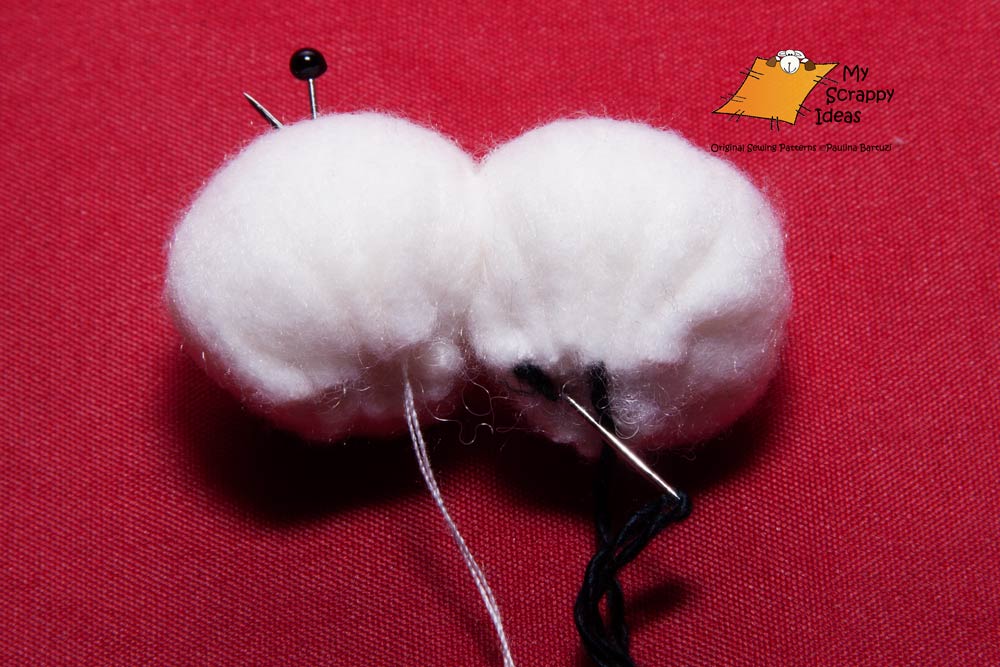
Step 13. Leave the thread “hanging” for later. Try pupil placement using glass-head pins.
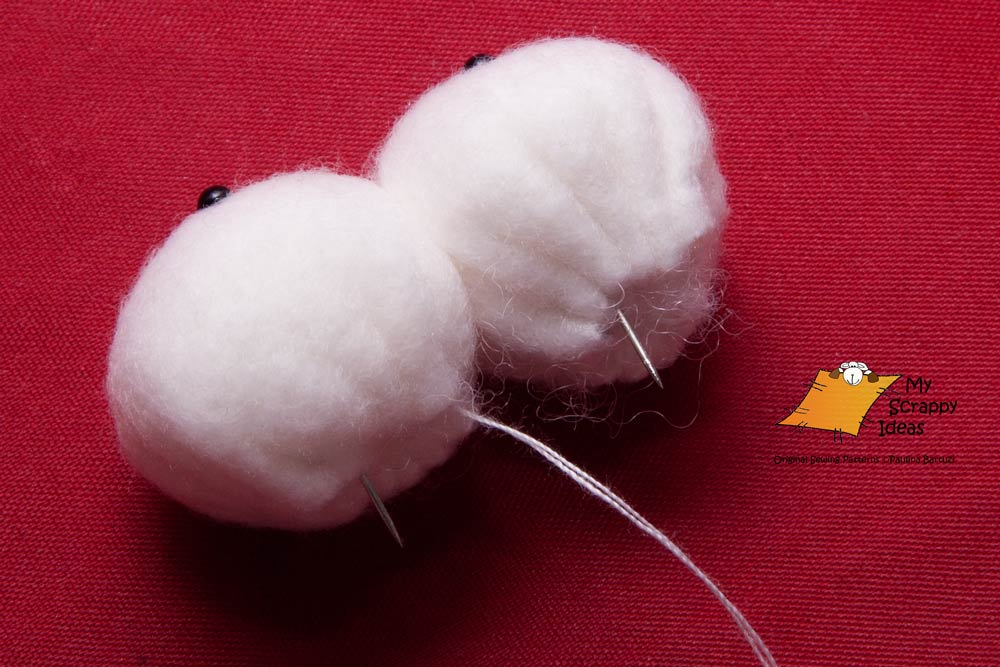
Make sure that the way you placed pupils fits the look you would like to get on your toy’s face.
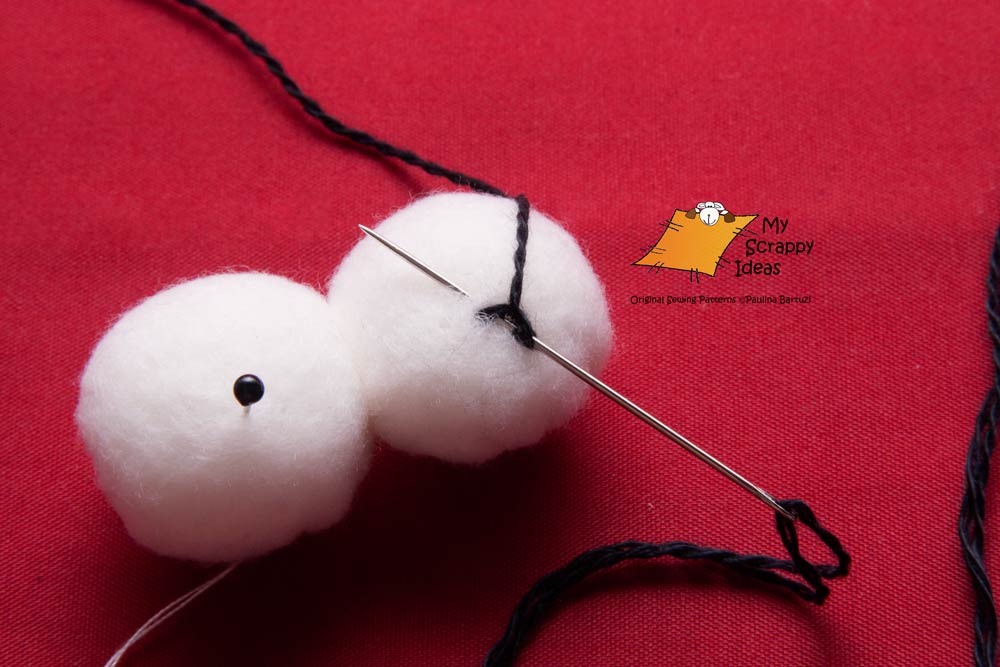
Step 14. Prepare a thicker black embroidery thread and thread another needle (the initial one with white thread is still there). Put the needle at the bottom of an eyeball and bring it out exactly at the spot where you have your pin.
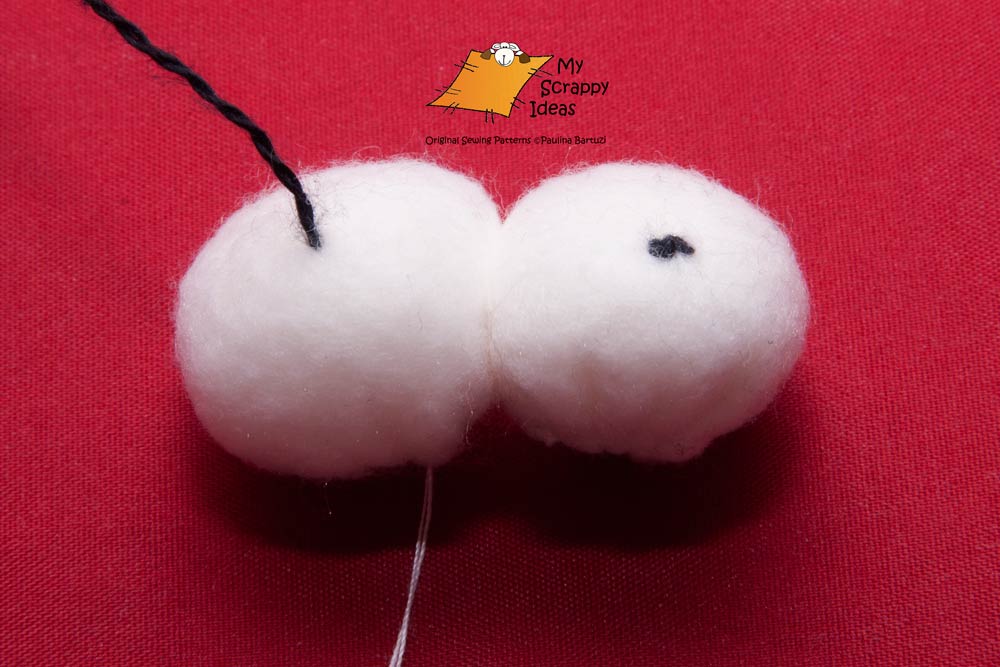
Step 15. Make a French knot in place of a pupil. Wind the thread around the needle twice…
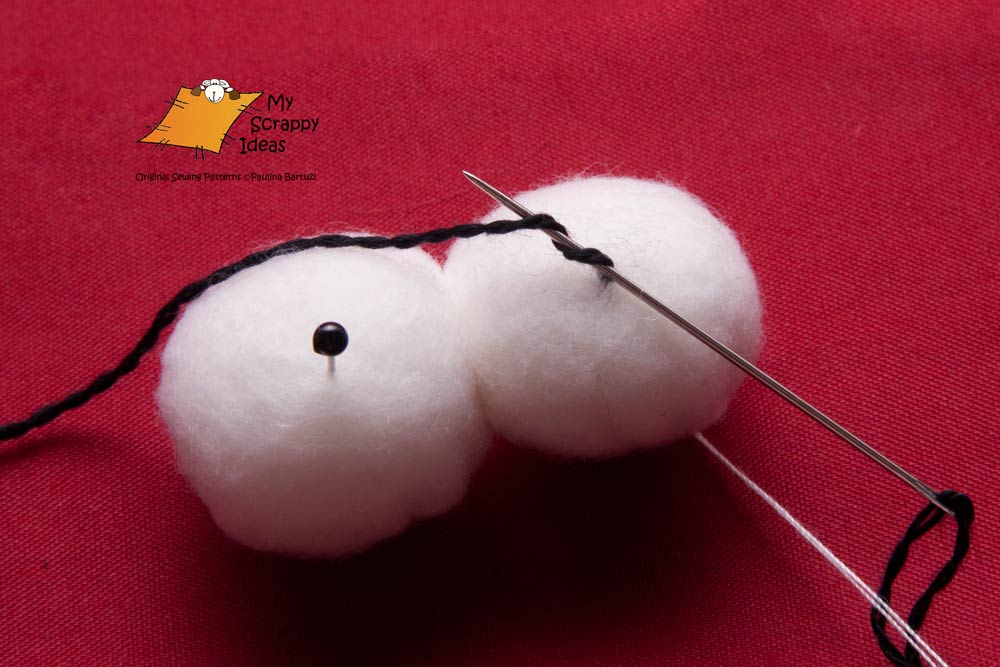
Step 16. …and (while constantly creating slight tension on the thread with another hand) re-insert the needle close to the thread exit spot on the eyeball. I immediately bring the needle out, also close by.
Depending on the size of the eyeball, I often make another French knot on top of the one already made.
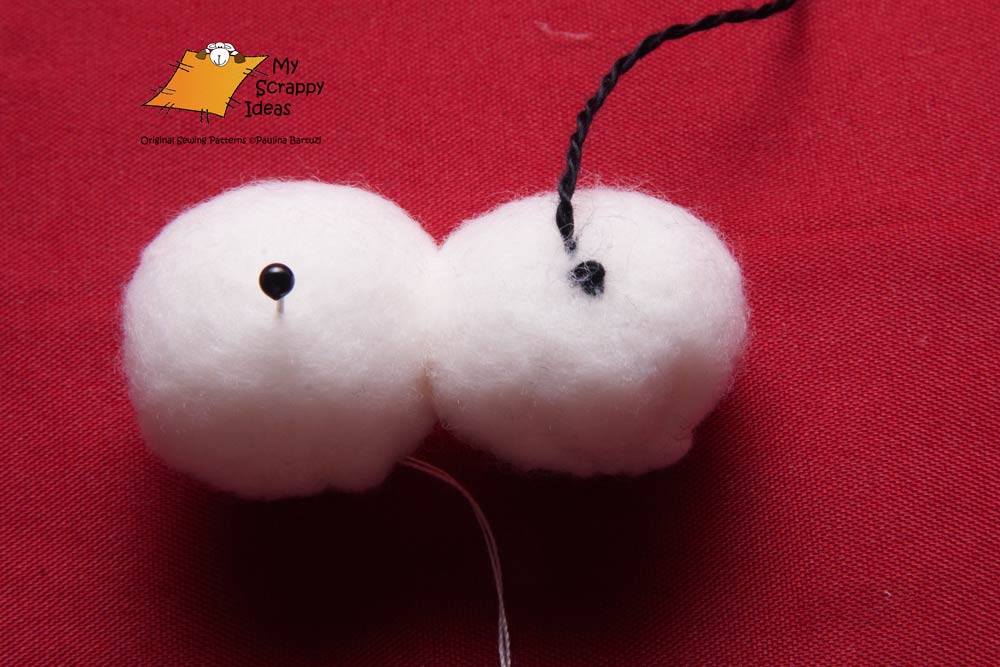
Insert the needle at the pupil spot and bring it out at the eyeball’s bottom.
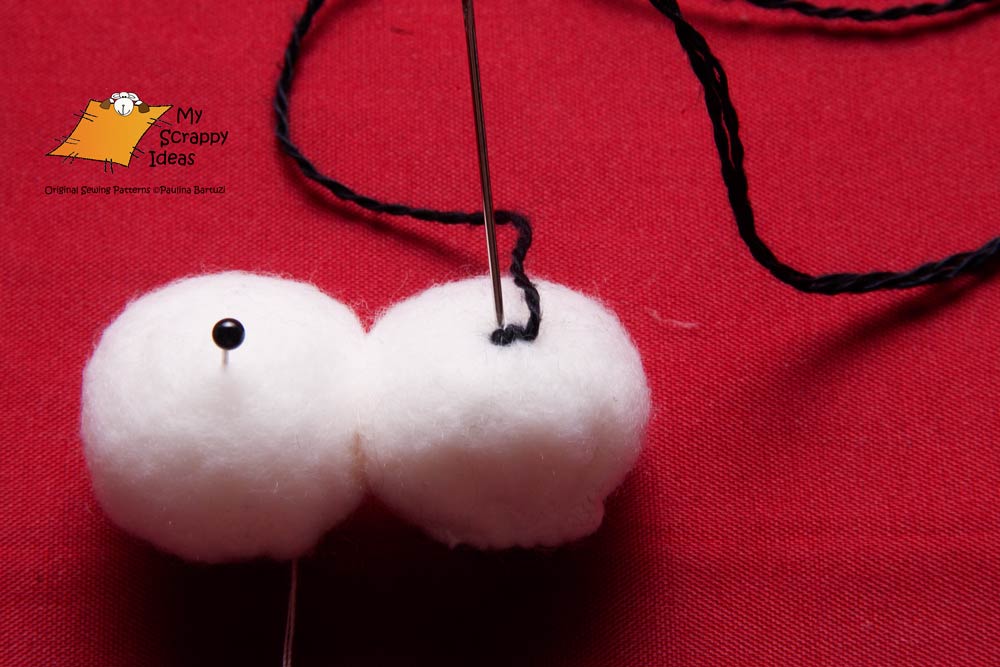
Step 17. Time to make the second pupil.
Bring the needle out at the spot of pin insertion, same as previously.
Tie another (set of) French knot(s) for the second pupil.
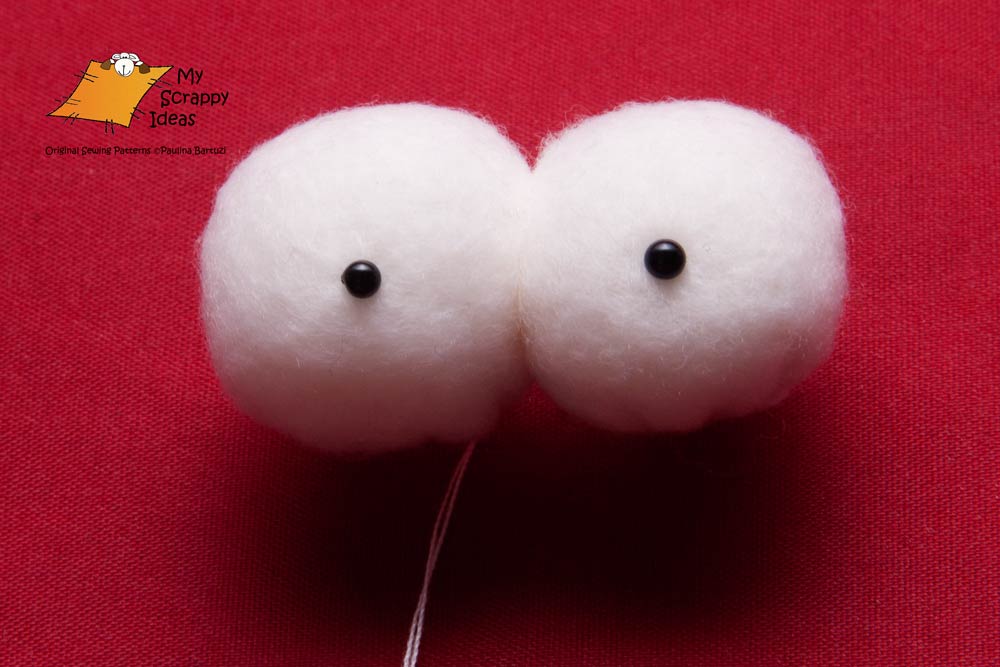
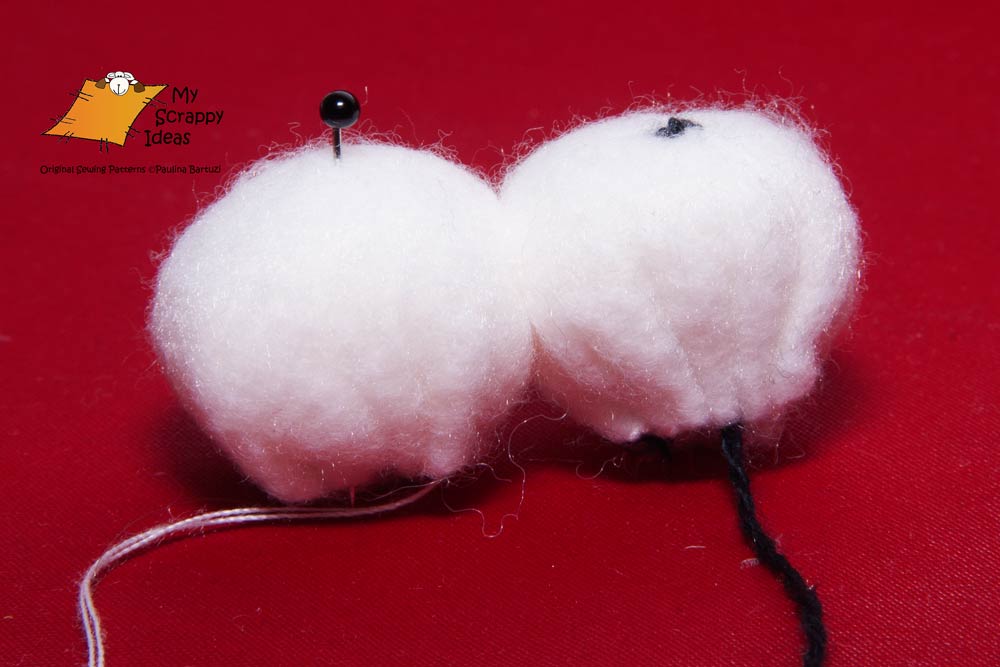
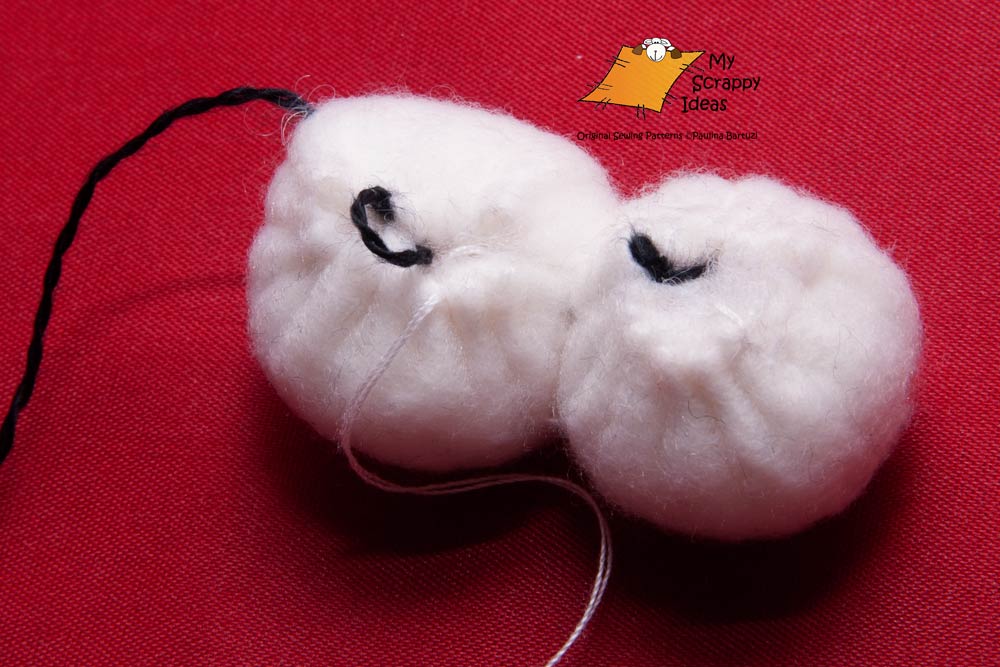
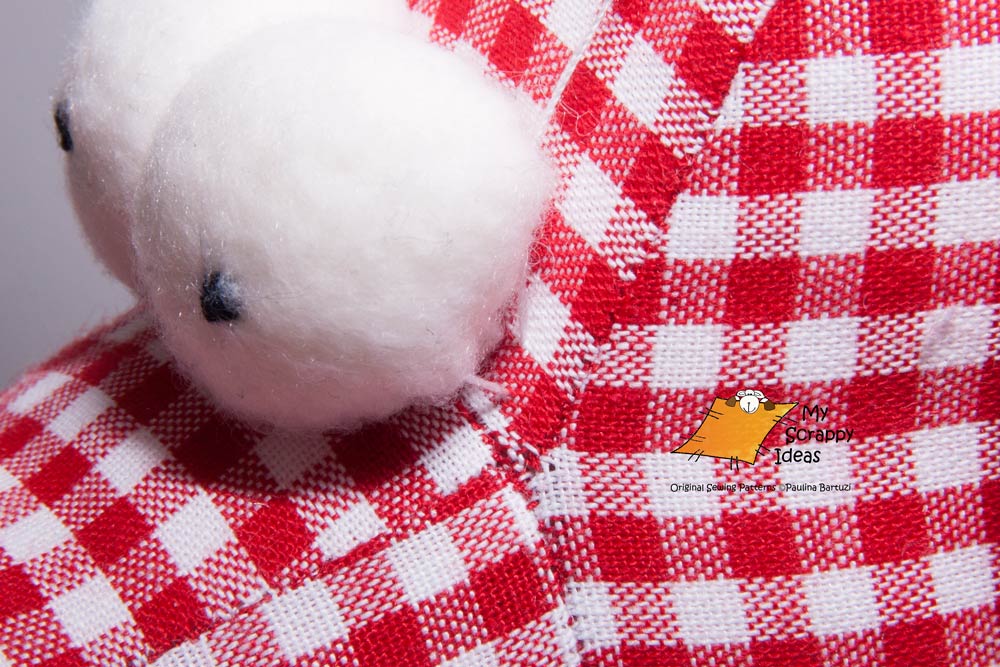
Step 18. You have your googly eyes ready 🙂 !
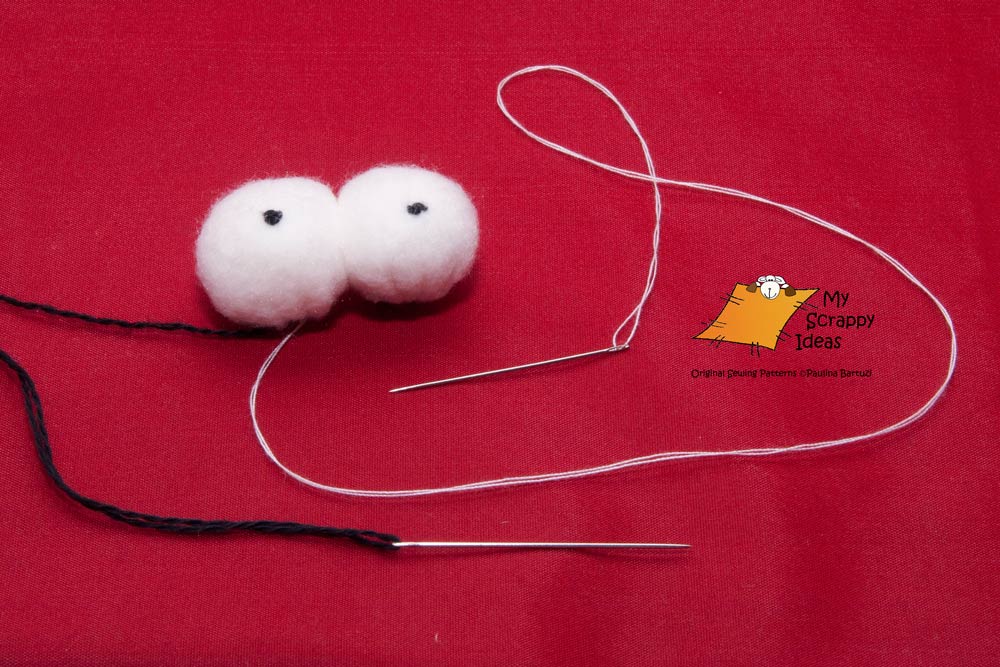
At this point you can tie a knot, sink it in the eyeball and snip the black embroidery thread, since you won’t need it anymore.
Step 19. Grab the white thread and pull it through the side of an eyeball.

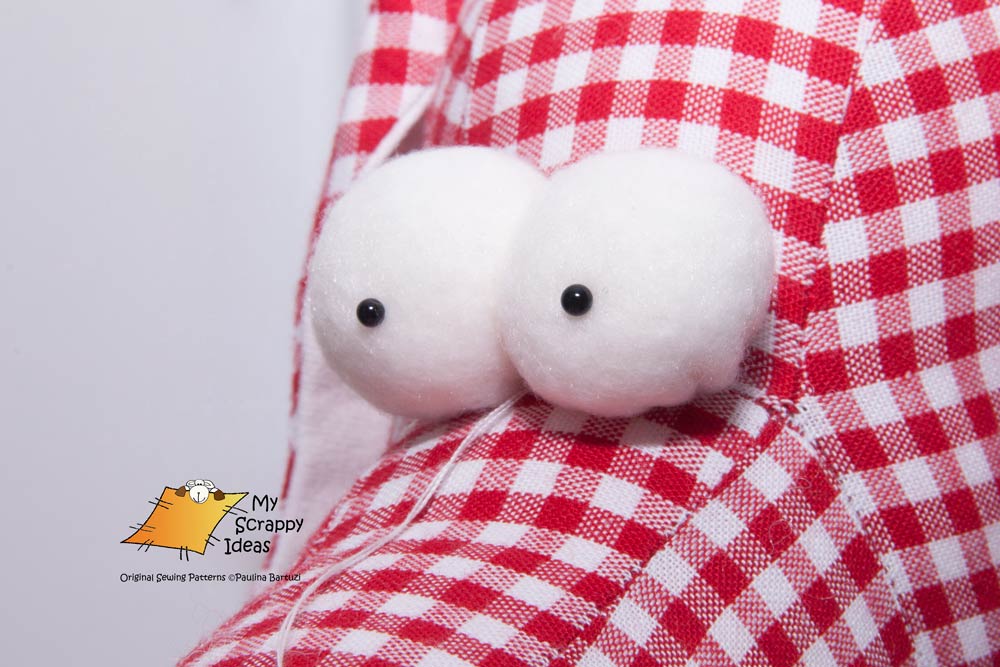
Step 20. Now attach the eyes to the toy’s head using a ladder stitch (find a ladder stitch tutorial HERE)…
Step 21. …working your way all around both eyes.
Step 22. Congratulations! Now your toy has a pair of beautiful GOOGLY EYES :)!