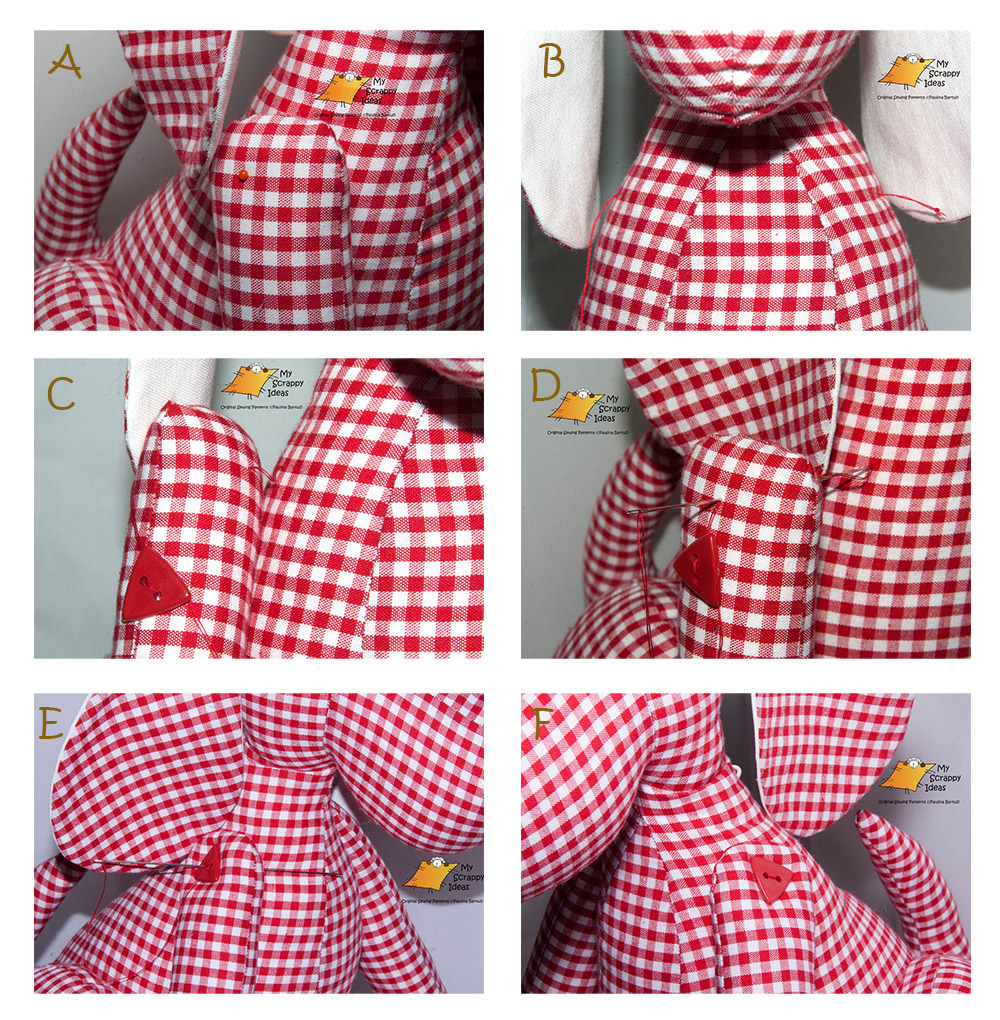
Buying extra accessories, like joints, for every toy you’re making is rather expensive. Moreover, it makes you devote more and more time to make a handmade toy. Though (I cannot deny) toy joints are great, I (personally) prefer using nice and colorful buttons to make cute and truly individualized toys. Below, a very basic method how to do that.
I must admit, one (extremely useful) tool that can make your life sooooooo much easier when it comes to toy creation is a long (~13 cm / ~5.1 inch) needle for doll-making. In order to get through the whole toy body from one side to the other you will, trust me, need the length 😉
You can download a full tutorial in the PDF version:
MyScrappyIdeas_LEGS_and_ARMS_Attachment_Tutorial
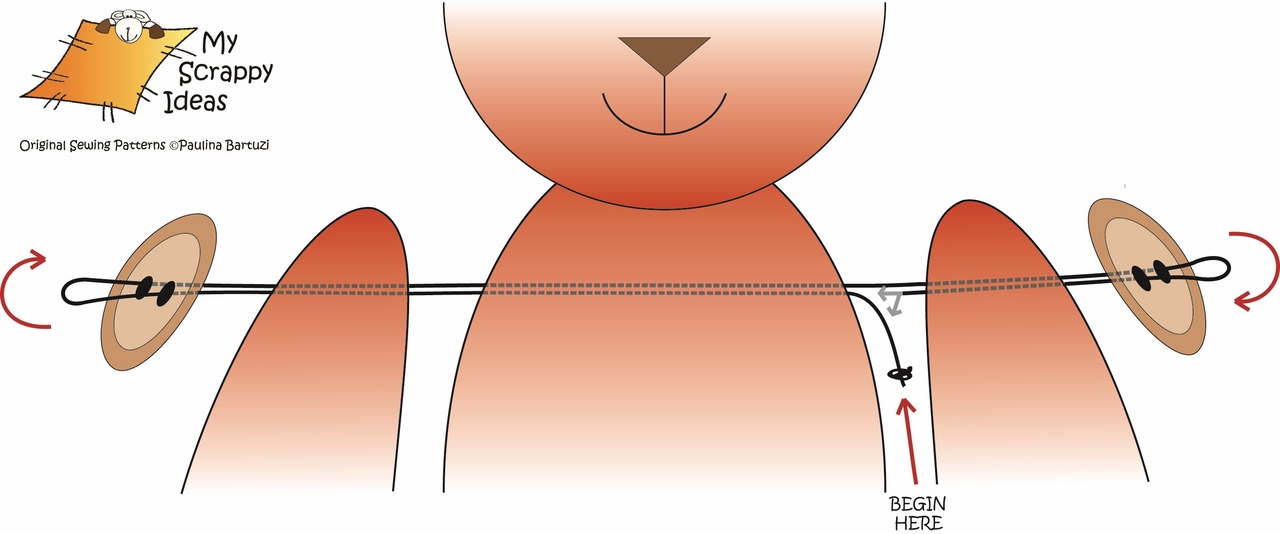
This is how it goes:
- Start with trying at what height to attach the legs / arms. Use pins to hold the limbs and mark their entry points on the body and limbs.
- Tie a knot and insert the needle into the body at previously marked point.
- Pull the thread through the body and through the leg/ arm.
- Exit the needle behind the limb and pull the thread through holes in the button.
- Insert the needle back through the limb and then through the body. This is a crucial step. If you try to always insert and exit the needle in the same spots you will obtain almost fully movable limbs (similar -but only similar- to the effect that you would get using toy joints)!
- After exiting the body, insert the needle in the other limb and repeat pulling the thread through the holes in the second button and through the second limb. Now you should be in the spot where you started the whole operation.
- Repeat the whole process at least once more, pulling the thread as tight as you wish. After the last round tie a knot, insert the needle into the body or limb and sink the thread there.
- Snip the thread and you’re done:)!
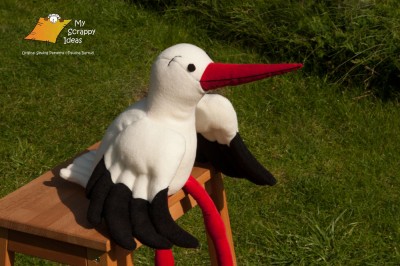
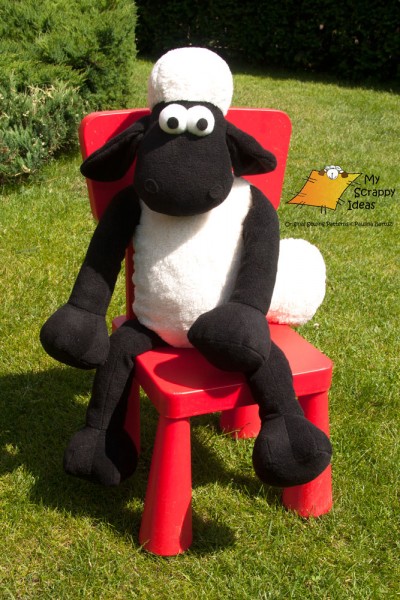
Below some example photos: